Lab Kit
If you are a current student, please Log In for full access to the web site.
Note that this link will take you to an external site (https://shimmer.mit.edu) to authenticate, and then you will be redirected back to this page.
1) Kit
Your 6.08 kit should come in a teal/turquoise padded mailer. Keep your kit and parts with that mailer since it provides a way to keep things together.
2) Parts
2.1) ESP32

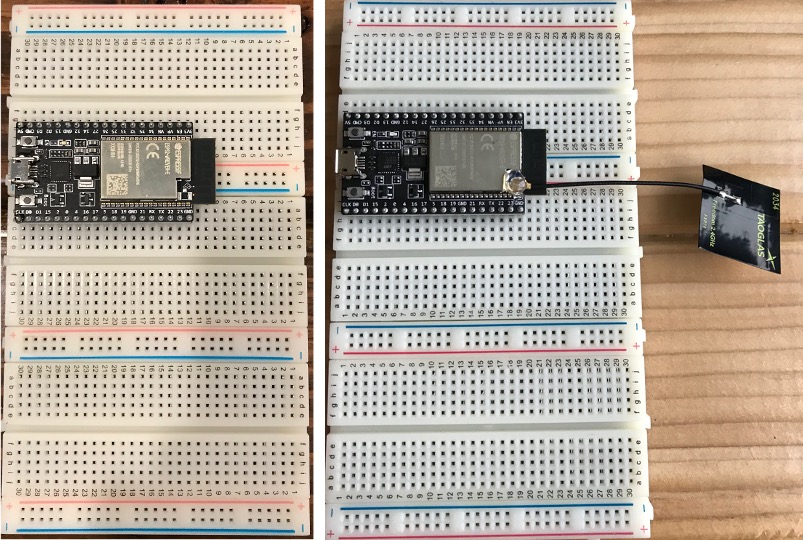
The ESP32 is the core of our 6.08 labkit. It is a well-developed and supported dual-core Wifi-and-BLE-enabled System on a Chip. Because supplies are somewhat constrained, there are several variants in circulation with the 2021 6.08 class. Students will have either a ESP32-DEVKITC-VIE or a ESP32-DEVKITC-VE. The main difference is the former requires a external antenna to be clipped on whereas the latter uses the on-board antenna. The ESP32 will come to you already mounted on the breadboard. Just leave it be. It is in a good starting position for the rest of the class1
2.2) Cable
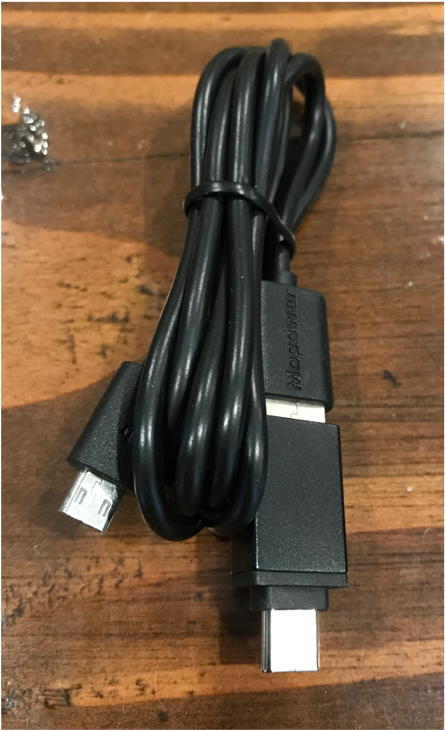
In order to interface with the ESP32, you'll need a free USB port. The cable included in the kit also has an adapter for USB-C already mounted. Keep it on if you need it for your computer or take it off if you don't. The cable we provided should allow both power and data through, so make sure to use our cable. Do not use some other random cable you have sitting around since that might be a power-only cable or something.
2.3) Breadboards
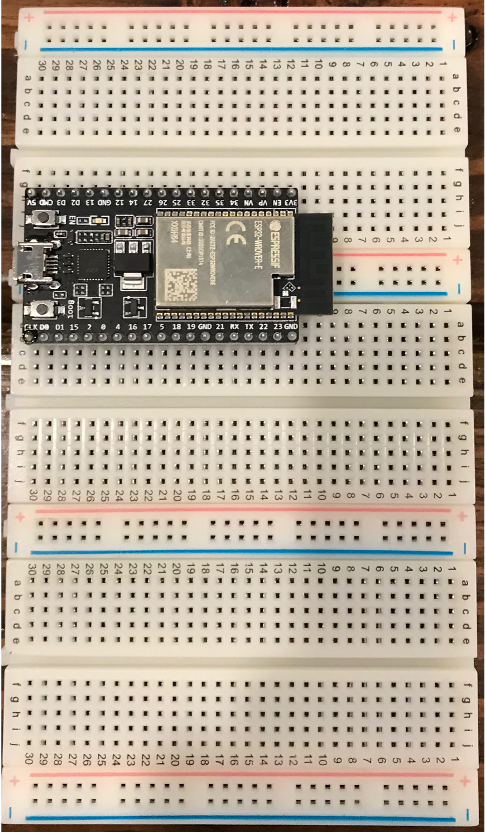
We will build up our 6.08 kit on a set of breadboards which have been preassembled for you. We took three "half-breadboards" and modified them slightly to give the overall layout you see in your kit. We will mount other parts on the board and connect them up using wires.
2.4) Wires
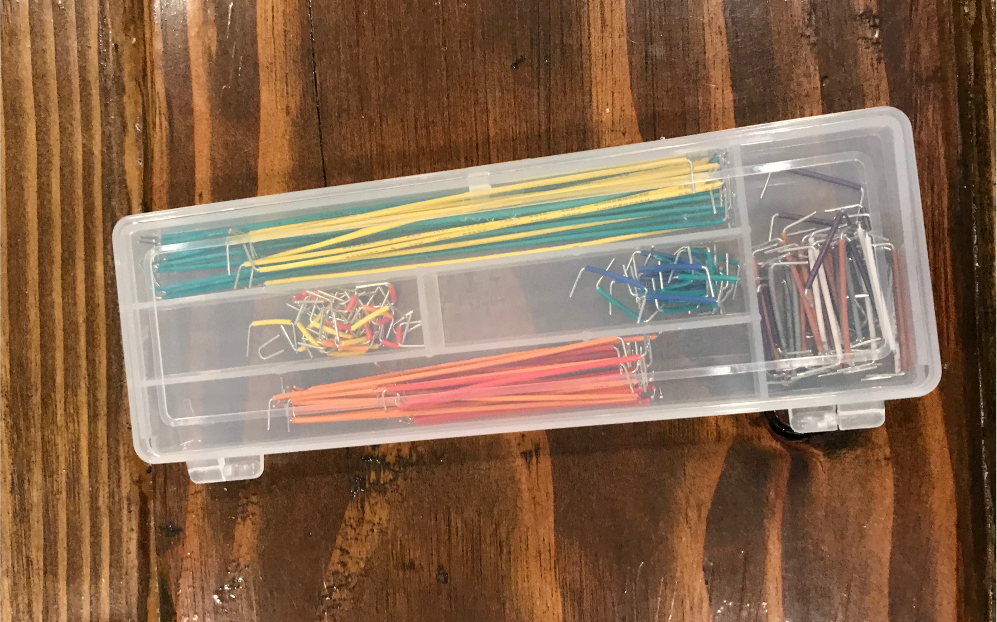
For 2021, the 6.08 kit comes with a box of pre-cut and bent wires. Use these for connecting parts together.
2.5) Screen
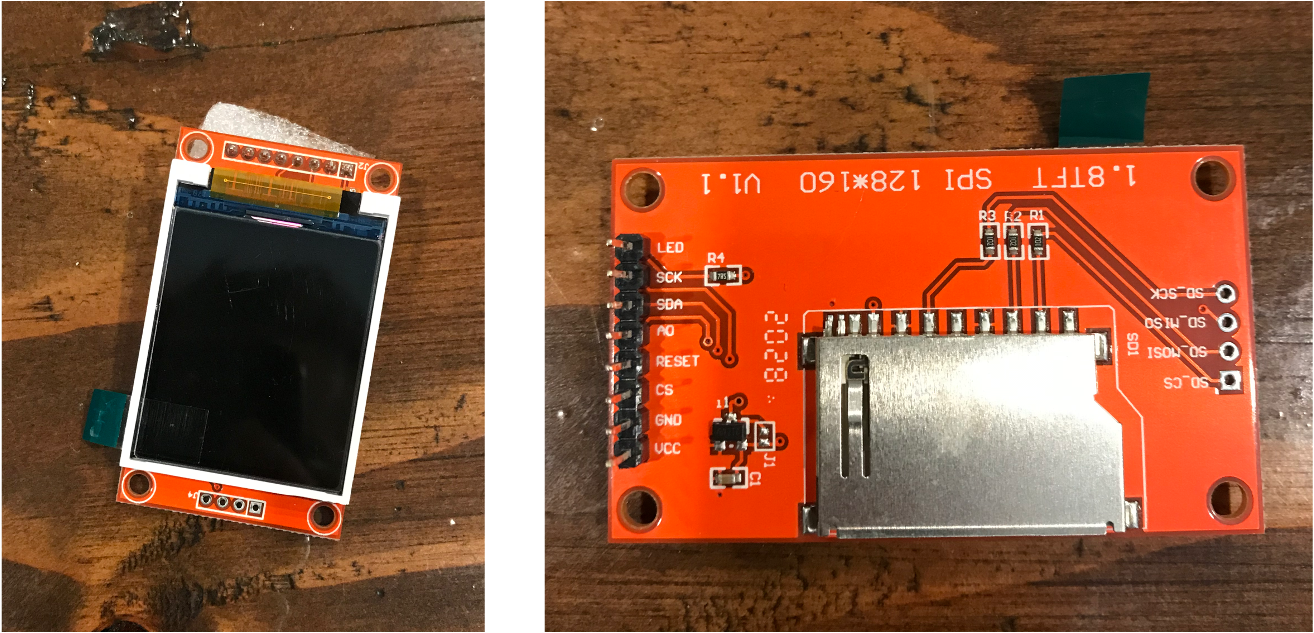
If you are remote you were likely provided two of these screens in case one breaks. If you are local, you have one. This is a 128 by 160 pixel ST7735 LCD (Liquid Crystal Display) with separately controllable backlight. We will use this in the majority of labs and exercises.
2.6) Buttons
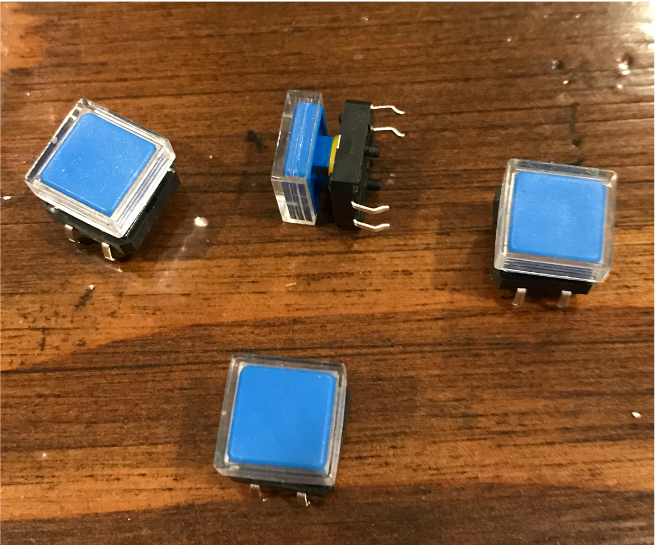
You will have three or four momentary buttons in your kit. These are used as basic inputs for control in a lot of the labs. The button is a momentary switch that is normally open, meaning it is connected only when pushed.
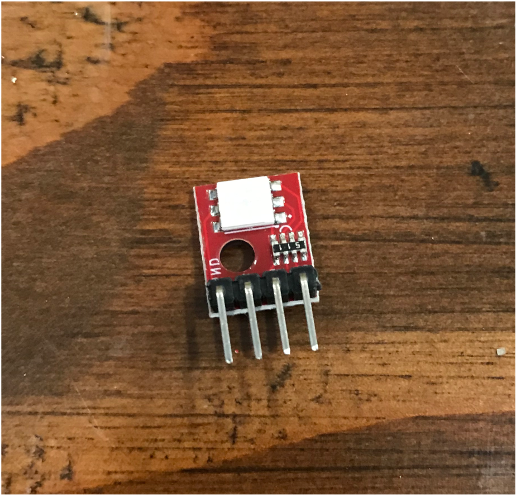
2.7) IMU
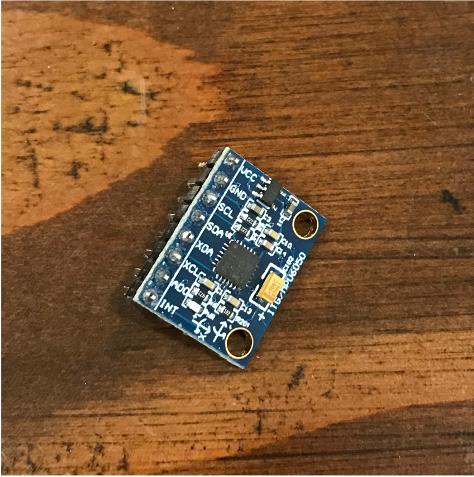
An inertial measurement unit (IMU) provides measurements of the acceleration and angular velocity in/around three orthogonal axes. We will start to use the IMU in Lab 02A.
2.8) Microphone
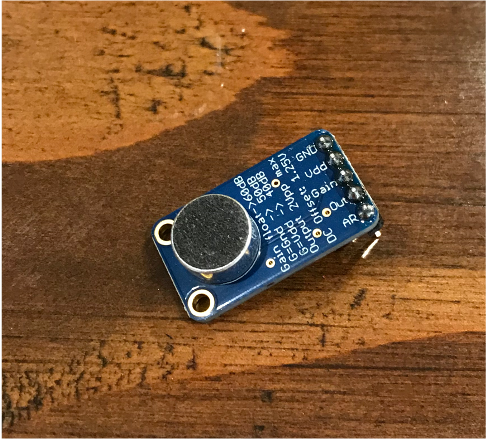
We use a microphone with a built-in amplifier featuring automatic gain control (AGC). This allows the output of the microphone to "auto-scale" to the running intensity of the sound.
2.9) RGB LED
This is actually three separate light emitting diodes; a red, a green, and a blue one. By varying the intensities of all three colors, the full visible spectrum can be approximated. While they may look similar to LEDs.
2.10) Passive Buzzer
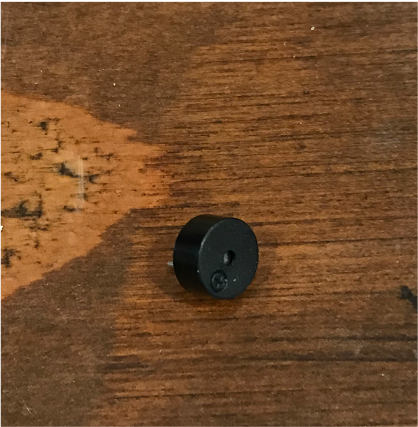
This device is an electromagnetic buzzer. It is not a piezo buzzer which many people might be familiar with so do not hook it up directly to an ESP32 pin and expect to control it.
2.11) Pressure/Temp Sensor
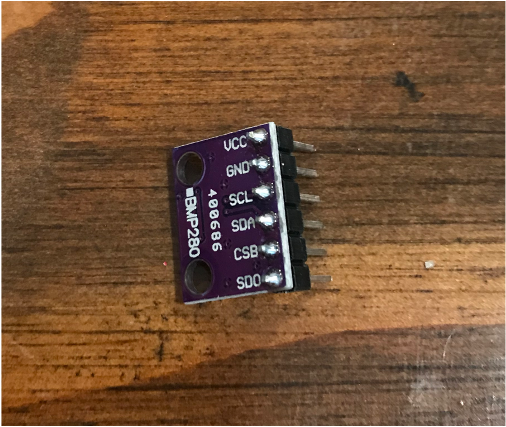
We will use a BMP280 to measure atmospheric pressure in a later lab. It also has a pretty decent temperature sensor on it so that might get used in a Design Exercise.
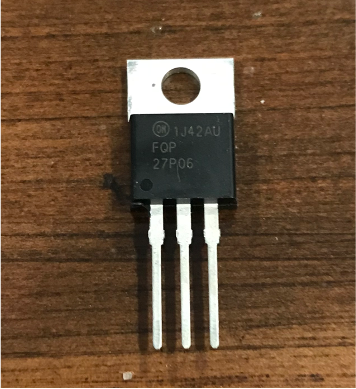
2.12) NFET
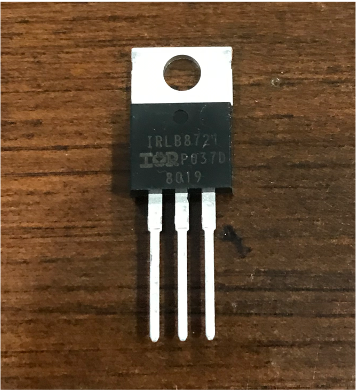
An NFET is an N-channel Metal Oxide Field Effect Transistor...or N-channel MOSFET...or NFET. The NFET will be used when we want to control the power to a device from the low side (we may do this when controlling the buzzer).
2.13) PFET
A PFET is a P-channel Metal Oxide Field Effect Transistor...or P-channel MOSFET...or PFET. The PFET will be used in cases where we want to control the power to a device from the high side (this will prove useful when controlling the LED backlight of our display).
Footnotes
1Every year students try to be different and put their ESP32 in some other location and then regret it and break stuff. We have thought this through and the location we placed it is a good spot for the term.